Email format error
Email cannot be empty
Email already exists
6-20 characters(letters plus numbers only)
The password is inconsistent
Email format error
Email cannot be empty
Email does not exist
6-20 characters(letters plus numbers only)
The password is inconsistent


Are you tired of the dull and dim headlights on your car? Do you want to enhance your driving experience by installing brighter and more efficient LED headlights? Look no further! In this DIY guide, we will walk you through the step-by-step process of installing LED headlights in your car.
LED headlights have become increasingly popular in recent years due to their superior brightness, energy efficiency, and longer lifespan compared to traditional halogen headlights. By upgrading to LED headlights, you can significantly improve your visibility on the road, especially during nighttime driving or in adverse weather conditions.
Before we begin, it’s important to note that the installation process may vary depending on the make and model of your car. Therefore, it’s always recommended to consult your car’s manual or seek professional assistance if you’re unsure about any step.

Here’s what you’ll need for the installation:
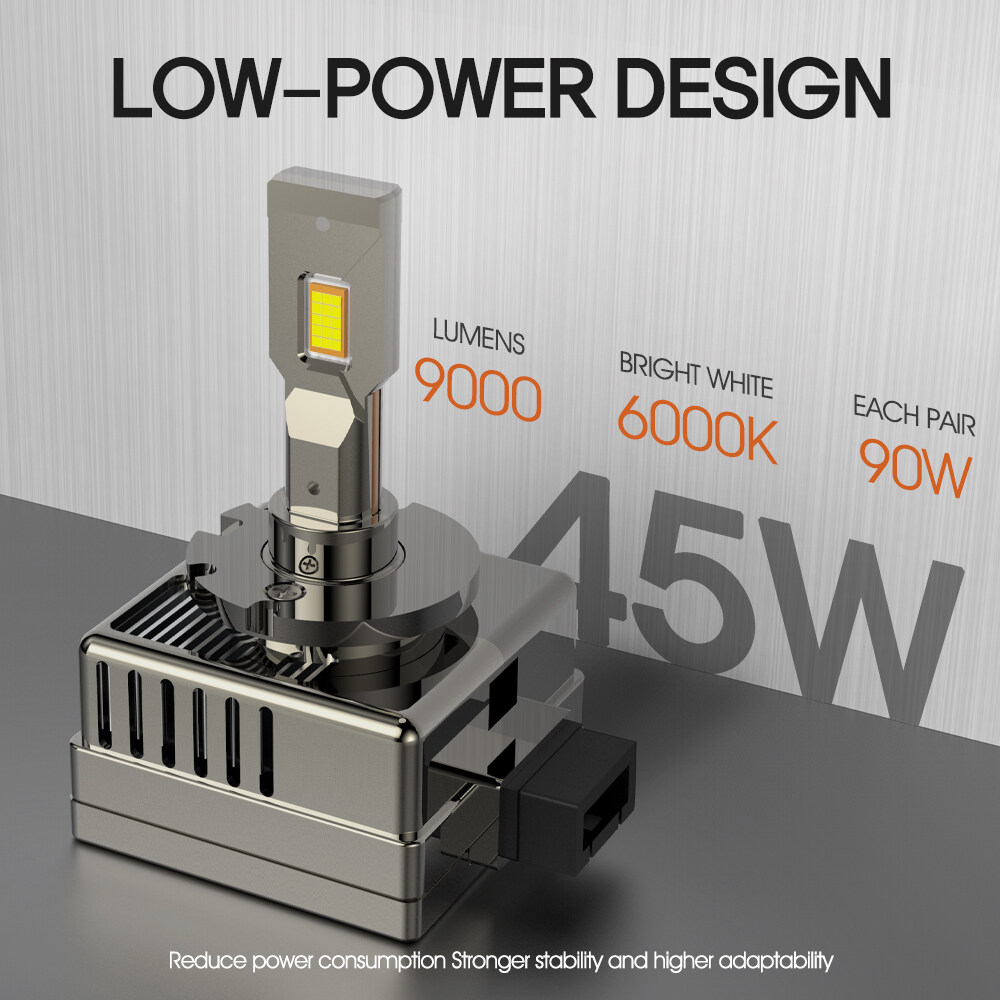
LED Headlight Conversion Kit: Make sure to purchase a high-quality conversion kit that is compatible with your car’s make and model. The kit should include LED bulbs, ballasts, and any necessary wiring.
Basic Tools: You’ll need a set of basic tools such as a screwdriver, pliers, wire cutters, and electrical tape.
Now, let’s get started with the installation process:
Step 1: Prepare your car.
Start by turning off the engine and disconnecting the battery to ensure your safety. Then, locate the headlight assembly and remove the existing halogen bulbs by twisting them anticlockwise.
Step 2: Install the LED bulbs.
Take the LED bulbs from the conversion kit and insert them into the headlight assembly. Make sure they are securely fitted and aligned properly. It’s important to handle the bulbs with care and avoid touching the glass surface to prevent any damage.
Step 3: Connect the ballasts.
Locate the ballasts included in the conversion kit and connect them to the LED bulbs. The ballasts are responsible for regulating the power supply to the bulbs. Follow the instructions provided with the kit to ensure proper connections.
Step 4: Secure the wiring.
Carefully route the wiring from the ballasts to the power source. You may need to remove some panels or trim pieces to access the necessary wiring. Use zip ties or electrical tape to secure the wiring and prevent any loose connections.
Step 5: Test the headlights.
Once all the connections are made, reconnect the battery and turn on the headlights to test their functionality. Make sure both high and low beams are working properly. If any issues arise, double-check the connections and consult the conversion kit’s instructions.
Step 6: Adjust the headlights.
After confirming that the LED headlights are working correctly, it’s essential to adjust their alignment to ensure optimal visibility. Park your car on a level surface facing a wall, and use the adjustment screws on the headlight assembly to align the beams properly.
Congratulations! You have successfully installed LED headlights in your car. Enjoy the enhanced brightness and improved driving experience that these headlights provide.
Remember to always prioritise safety when working on your car. If you’re unsure about any step or encounter difficulties during the installation process, it’s best to seek professional assistance. Happy driving!